Removing spray foam insulation might seem like a daunting task, but with the right professionals and a clear understanding of the process, it can be done safely and efficiently. Whether you’re dealing with mortgage issues, poor ventilation, trapped moisture, or aging insulation, knowing what to expect during the spray foam removal process will help you prepare your home and make informed decisions.
In this blog post, we’ll walk you through each stage of spray foam insulation removal, from inspection to clean-up.
1. Initial Inspection and Assessment
The first step is a detailed site survey by experienced technicians. During this stage, the team will:
-
Assess the condition of the insulation.
-
Identify which areas (e.g., loft, roof, cavity walls) are affected.
-
Determine the type of spray foam used (open-cell or closed-cell).
-
Look for signs of timber rot, moisture damage, or ventilation blockages.
Why it matters: This helps develop a tailored removal plan, estimate costs, and minimize damage to structural elements.
2. Preparation of the Site
Before removal begins, your property is prepared to ensure safety and cleanliness. This includes:
-
Laying protective sheets to catch debris.
-
Sealing off unaffected areas.
-
Ensuring proper ventilation to avoid inhaling particles.
-
Wearing PPE (Personal Protective Equipment).
Tip for homeowners: You may be advised to vacate the area or home during this stage, depending on the size of the job.
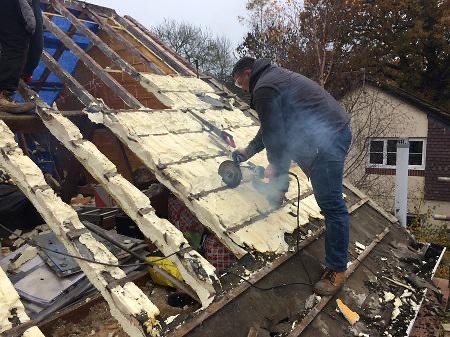
3. Manual & Mechanical Removal
Spray foam insulation is physically removed using specialized tools:
-
Manual scraping: Technicians carefully chip away the foam using hand tools.
-
Mechanical cutting or sanding: For dense or hard-to-reach areas, machinery may be used.
-
Heat or solvents (if necessary): In rare cases, additional techniques help loosen the foam.
Important note: Spray foam adheres tightly to surfaces, so removal must be done cautiously to avoid damaging roof timbers or structural elements.
4. Damage Check & Timber Inspection
Once the foam is removed, technicians inspect the underlying surfaces for:
-
Wood rot or mold
-
Moisture retention
-
Ventilation issues
-
Pest or insect damage
If any damage is found, it may need to be repaired before proceeding to re-insulation.
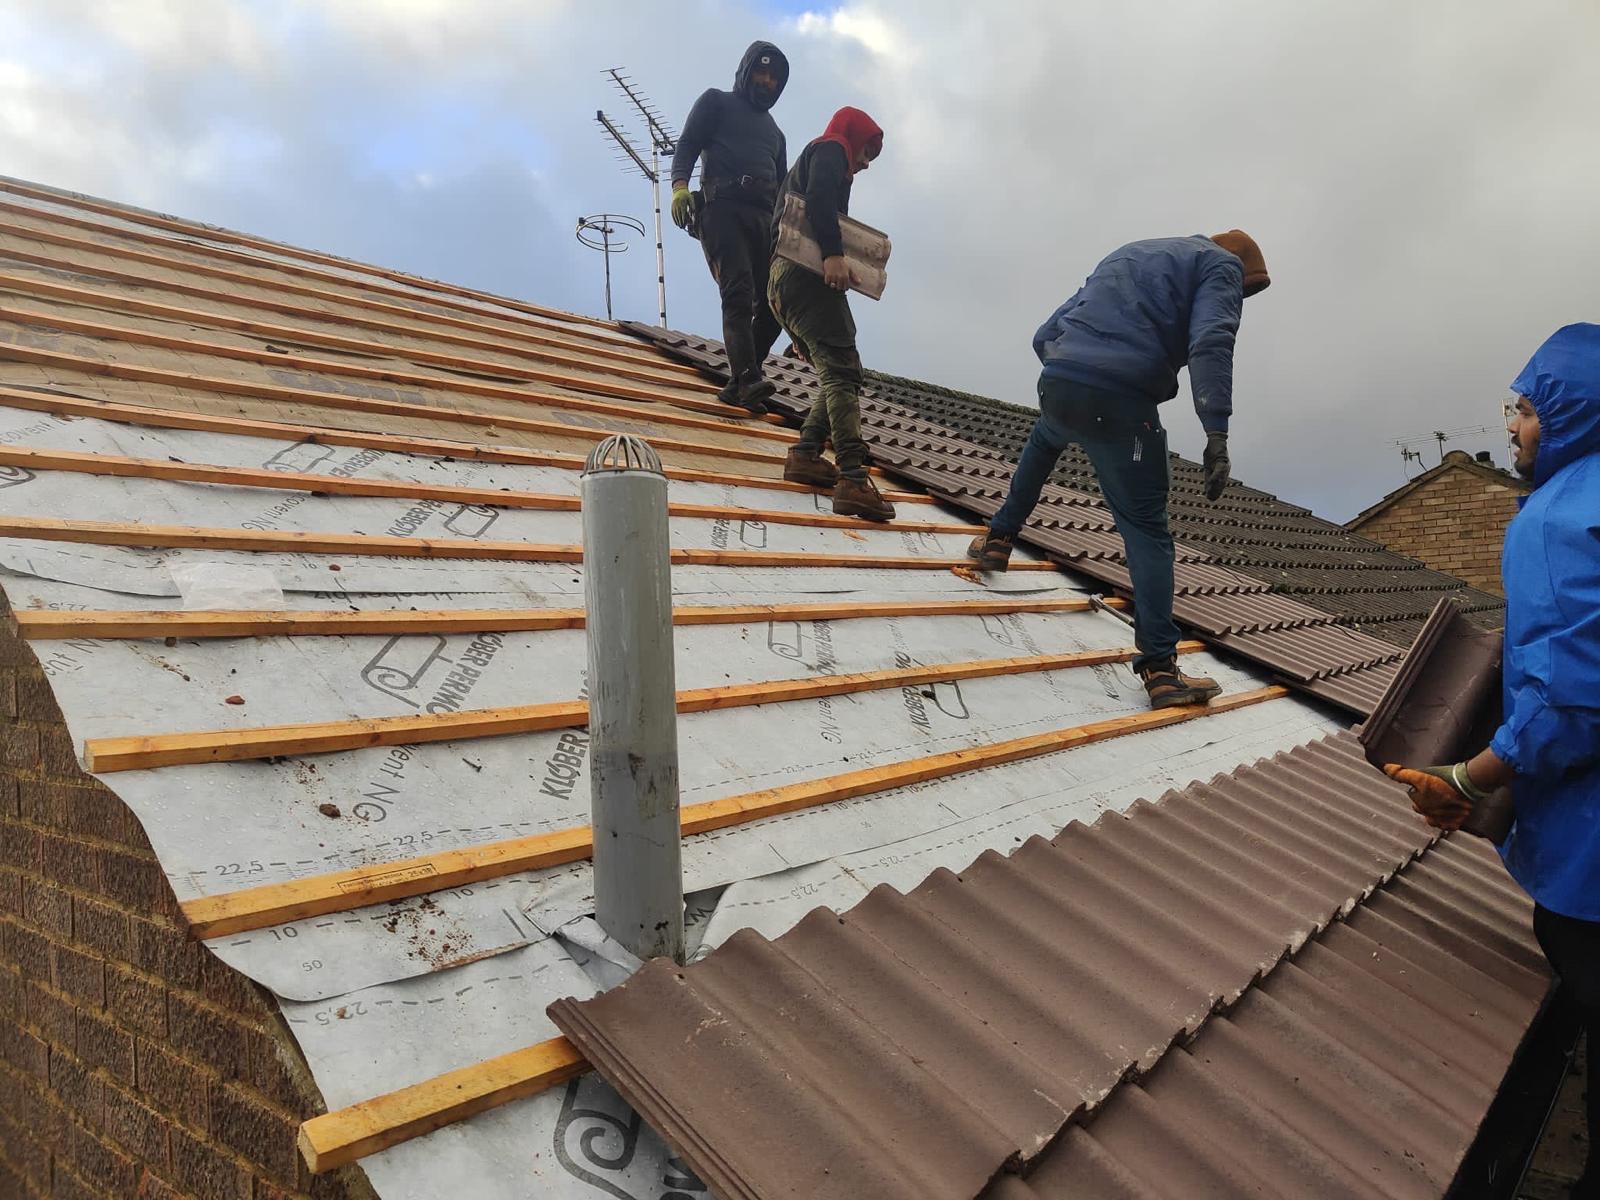
5. Surface Cleaning and Disposal
After removal:
-
All foam particles and dust are vacuumed and cleaned.
-
Old insulation materials are disposed of responsibly in compliance with waste regulations.
-
Surfaces are treated (if needed) to prevent mold or moisture damage.
6. Optional: Re-insulation Recommendation
Now that the spray foam is gone, your contractor may recommend a safer, mortgage-approved insulation material like:
-
Mineral wool
-
Sheep’s wool
-
Fibreglass rolls
These alternatives are breathable, fire-resistant, and do not interfere with mortgage approvals.
Final Words: Trust the Experts
The spray foam insulation removal process requires technical skill, attention to detail, and experience. Attempting it yourself can risk serious damage to your property and health. That’s why it’s essential to hire professionals who specialize in this service.
continue reading
Related Posts
If you’ve recently removed spray foam insulation from your property,
Spray foam insulation has gained popularity for its energy efficiency